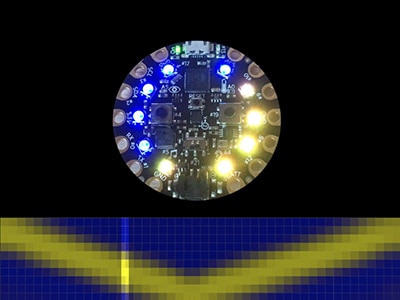
NeoPixel NeoMatrix 8x8 64 RGB LED Matrix Random Color Animation
2025-12-29 | By Ron Cutts
License: General Public License Addressable LEDs LED / Display Drivers LED Holders / Lenses LED Matrix LED Segment LED Strips LEDs / Discrete / Modules Light Arduino
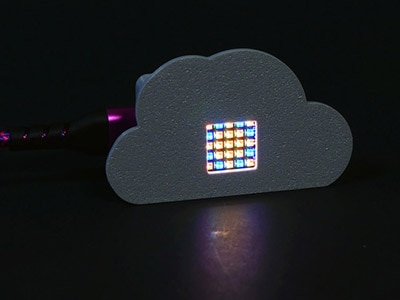
In this Visual Programming Visuino tutorial, we’ll use the Adafruit NeoPixel NeoMatrix 8x8 64 RGB LED Matrix to create random color running lights.
A pulse is sent to the NeoPixel matrix to move one pixel forward, while a random color generator sets the color of that pixel.
This creates a dynamic, flowing animation where each LED lights up with a new random color as it moves across the matrix.
Using Visuino’s drag-and-drop interface, you can adjust the speed, brightness, and color randomness of the animation.
This project demonstrates how to control the NeoPixel NeoMatrix 8x8 to create moving, colorful LED patterns with Arduino.
Note: you can use any other NeoPixel matrix, it will work the same.
Watch the Video!
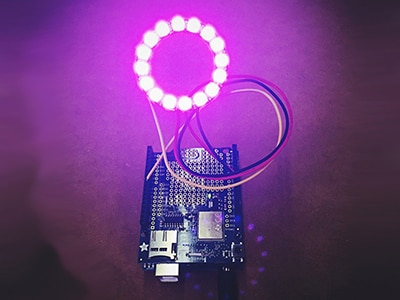
Note: You can use any other NeoPixel WS2812 RGB LED module, just adjust the number of pixels in Visuino
Step 1: What You Will Need


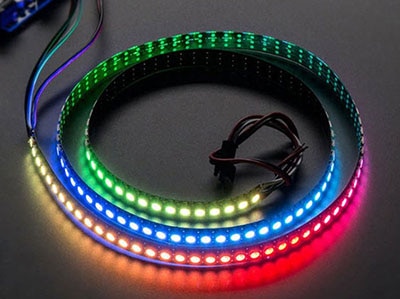
Adafruit NeoPixel NeoMatrix 8x8 - 64 RGB LED Pixel Matrix
Arduino (or any other board)
Jumper wires
Visuino program: Download Visuino
Step 2: The Circuit

Connect NeoMatrix pin [5V] to Arduino pin [5V]
Connect NeoMatrix pin [GND] to Arduino pin [GND]
Connect NeoMatrix pin [Data In] to Arduino digital pin [2]
Step 3: Start Visuino, and Select the Arduino Board Type


Start Visuino as shown in the first picture Click on the "Tools" button on the Arduino component (Picture 1) in Visuino When the dialog appears, select "Arduino UNO" as shown on Picture 2
Step 4: In Visuino Add & Set Components


Add "Pulse Generator" component
Add "Random Color" component
Add "NeoPixels" component
Select "PulseGenerator1" and in the properties window set "Frequency" to 5, adjust this value according to your needs
Double click on the "NeoPixels1" and in the "PixelGroups" window drag "Running Color" to the left side and in the properties window set "" to 64
Step 5: In Visuino Connect Components

Connect "PulseGenerator1" pin [Out] to "NeoPixels1 > RunningColor1" pin [Step]
Connect "PulseGenerator1" pin [Out] to "RandomColor1" pin [Clock]
Connect "RandomColor1" pin [Out] to "NeoPixels1 > RunningColor1" pin [Color]
Connect "NeoPixels1" pin [Out] to Arduino Digital pin [2]
Step 6: Generate, Compile, and Upload the Arduino Code

In Visuino, at the bottom click on the "Build" Tab, make sure the correct port is selected, then click on the "Compile/Build and Upload" button.
Step 7: Play
Congratulations! You have completed your project with Visuino. Also attached is the Visuino project, that I created for this Instructable, you can download it here and open it in Visuino: https://www.visuino.com
Download Visuino file: 64neopixe-colorl.visuino